DG-LAB has updated
the information related to its new 3.0 Version. Here is a detailed preview of all the changes:
Coyote 3.0 Updates
There is a lot of content on the details page, which is still under production.
You can take a look at the text version first.
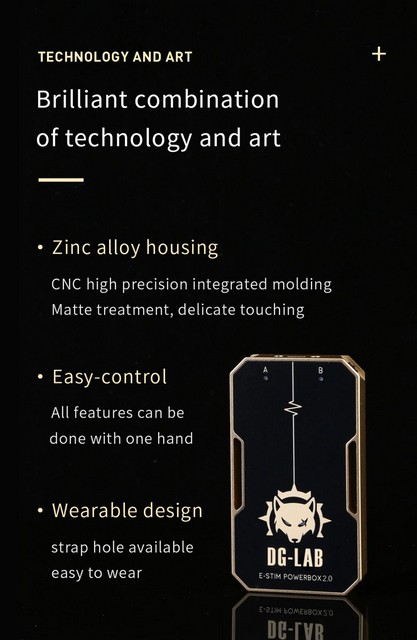
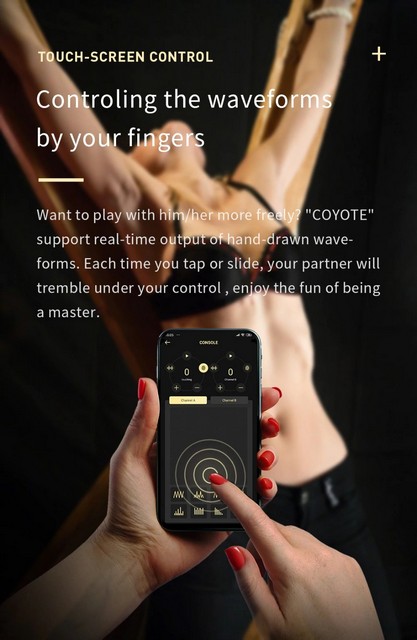
Brand New Pulse Generation Module
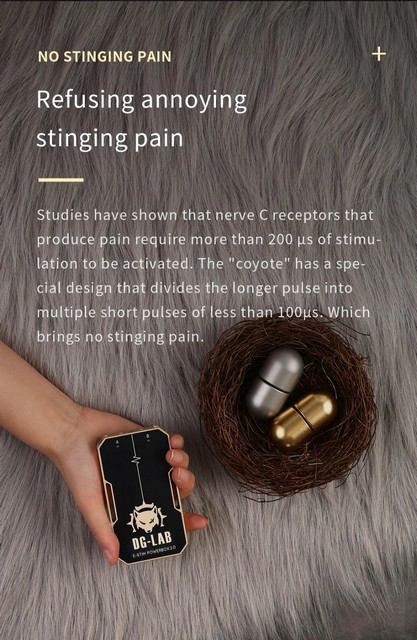
Less Prickling Sensation
& Stronger Impact
You may
have experienced this: when the intensity is low, there is almost no prickling sensation but the stimulation is not sufficient;
however, when the intensity is increased, the prickling sensation becomes more noticeable along with the increase in intensity.
The Coyote 3.0 is equipped with a brand new pulse generation module, further optimized from 2.0, allowing for a "pounding
sensation" even at higher intensities and lessening the occurrence of a "pricking sensation."
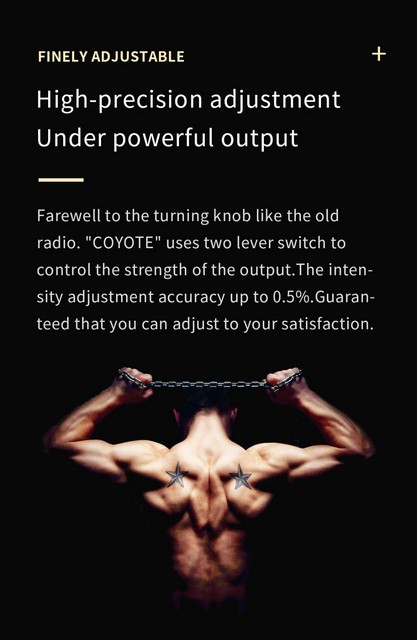
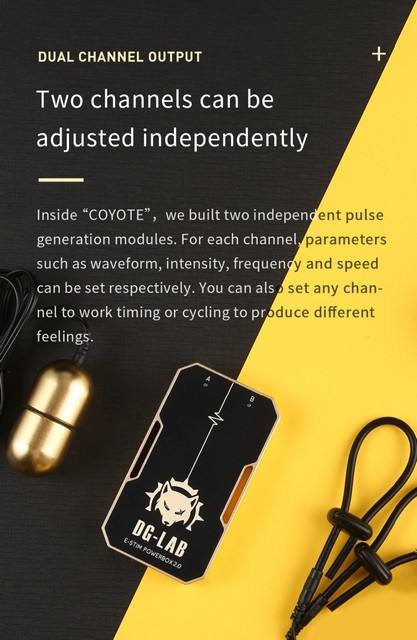
Custom Frequency Gain
Precisely Adjust Sensory Intensity for High and Low Frequencies
The output voltage of regular devices
is influenced by frequency. For example, when transitioning from high frequency to low frequency output, even though the intensity
remains the same, users may feel a sudden increase in intensity.
The Coyote 3.0 allows users to freely adjust the
relative gain of the high and low frequency parts within the waveform, enabling consistent or even greater disparity in tactile
sensation across different frequencies.
Fourfold Waveform
Precision
Restore Audio Rhythms Better And Greater Creative Freedom
The Coyote 3.0 can process 40 sets of waveform data per second, four times more than
Coyote 2.0, this greatly expands the freedom of customization for waveforms. Additionally, when using audio conversion waveforms,
higher precision allows for more accurate reproduction of audio rhythms, making the pulses feel more consistent with the audio.
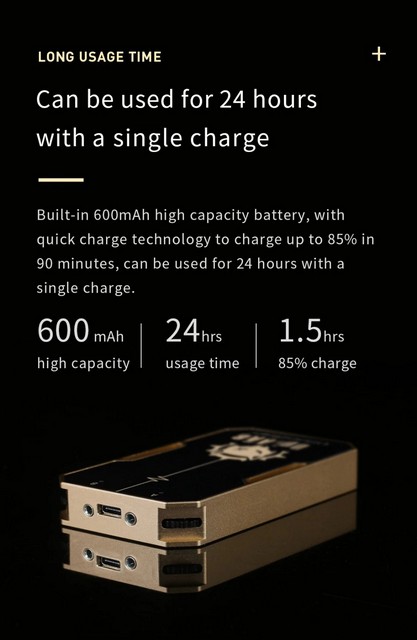
Larger Battery Capacity & Higher Energy Efficiency
Reduced Heat, Significantly
Improved Battery Life
The
Coyote 3.0 has upgraded its battery capacity from 600mAh to 1000mAh. Furthermore, the new pulse generation module significantly
enhances energy efficiency. This ensures that the device operates with minimal heat generation, leading to a substantial increase
in battery life.
Intelligent Self-Check At Startup
Added Redundant Circuits For Double Assurance.
A quick self-check process has been
added during startup. In addition to this, we have prepared a set of backup circuits for the pulse generation modules of each
channel. Even if the main circuit fails during use, the backup circuit will immediately take effect, and any faults in the
main circuit will also be detected during the next self-check.
Downloadable
Waveforms to the Device
Power-off Storage, Play Without a Phone
The Coyote 3.0 allows players to download their favorite waveforms to the Coyote from
app as built-in modes, eliminating the need for an app connection for usage. Additionally, these downloaded waveforms can
be used for custom outputs in accessory gameplay.
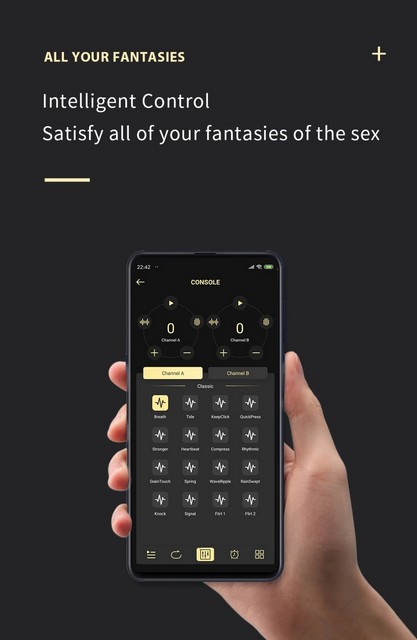
Accessory
Networking Gameplay Officially Launched
Ultra-High Freedom, Realize Your Wildest Fantasies
As the core feature of this update, we have designed a networking
gameplay system centered around "Event Triggers," allowing the Coyote 3.0 to connect with up to six wireless sensors.
Players can freely set the detection mode and triggered events of the sensors, controlling the unit to execute waveform
output, temporary intensity changes, permanent intensity changes, game time changes, start/stop game actions, and more.
In addition, one Coyote can also serve as an accessory for other Coyotes to achieve multi-level networking, enabling
one button to control multiple units in a chain.
Hardware
Networking Without App
Improved Response Speed With Imperceptible Delay
During the development process, we initially attempted a networking solution where
the smartphone served as the central device, with the main unit and sensors acting as peripherals.
However, we
quickly found that due to limitations within the smartphone's Bluetooth system, stability issues arose when simultaneously
connecting multiple devices. Furthermore, the triggering information needs to be relayed through the phone, causing players
to experience noticeable delays when the punishment is activated/cancelled, leading to confusion in assessing the safety range.
This issue is particularly severe during testing of edge control functionality. (Related accessories are still undergoing
optimization and will be launched once ideal performance is achieved.)
As a result, we have redesigned the current
direct connection scheme. Sensors are now directly connected to the unit, and the triggering logic for accessory gameplay
is stored internally within the unit. Once settings are configured, the system can operate automatically without the need
for app connectivity.
This solution not only effectively addresses latency issues but also completely supersedes
the previous approach of using the smartphone as the central device. It also facilitates easier expansion for additional functionalities
in the future.
Multi-function Button Accessory
One Device, N Modes
of Play
The first sensor we
have launched is a multifunctional wireless button, capable of detecting presses, angles, tension, and changes in acceleration.
It also supports external voltage detection, allowing users to achieve their desired gameplay without the need for development.
We will introduce more types of main devices and sensor accessories in the future.
Here is a brief introduction
to some basic gameplay applications. Multiple gameplay modes can be active simultaneously, but one button can only be configured
for one triggering mode at the same time.
1. Forced Posture Training Gameplay
Configure multiple buttons to trigger
when released. After starting the game, the player must keep all buttons pressed. Otherwise, the unit will execute an punishment.
Using the provided buckle accessories to fix the buttons on the wall or floor as "anchor spots" achieves the goal
of forced posture training.
Example Applications:
a. Fix two buttons high on the wall so that players must stand
on tiptoes to reach them, achieving the effect of enforced standing punishment.
b. Fix two buttons in a position
where the arms can barely reach simultaneously when stretched to the left and right, placing them slightly higher than the
waist. Players must maintain an open-arm posture in a half-squat to avoid triggering punishment.
c. Kneeling Mode:
Players have both hands fixed behind their backs and need to maintain a kneeling position, pressing the buttons fixed on the
ground with their knees (remember to wear knee pads) and forehead. If there are five buttons, you can also use them to restrict
the positions of both hands.
2. Maintain Stillness/Forced Movement Gameplay
Configure the buttons in acceleration detection mode and set a trigger for acceleration
either below or above a certain threshold. This allows for gameplay that enforces maintaining stillness or forces movement
based on acceleration levels.
Example Applications:
a. Must maintain movement throughout the game, can be used in
conjunction with the posture training gameplay mentioned above;
b. Rapid movement will be punished, but the key
is placed at a distance, and one must move slowly to reach it.
c. Suspend buttons with thin ropes in locations
such as hallways. Players need to cross the corridor and press the button at the end to stop the game, but if they touch the
suspended button and cause it to sway, a punishment will be triggered.
d. After fixing the buttons on the body,
scratching itch will trigger punishment if the body moves to avoid.
3.
Angle Detection Gameplay:
Configure
the button in angle detection mode and set a safe angle range. Once the tilt angle of the button exceeds the safe range, a
penalty will be triggered. The button can be directly installed on handcuffs provided by DG-LAB using a back clip, or it can
be fixed at various positions on the body using straps.
Example Applications:
a. Players hold a ruler with both hands,
and the button is fixed on the ruler. If it is not kept level, a punishment will be triggered.
b. The button is
installed on handcuffs, and players must keep both hands horizontally extended, neither putting them down nor lifting them
up.
c. The button is installed on ankle cuffs, and players must keep their shins standing vertically. Lying down
or moving will result in a punishment.
d. The button is fixed in front of the chest with straps, and players must
maintain a prone or kneeling position with the torso parallel to the ground.
4.
Punishment for Resistance Gameplay
Utilize the provided strap accessory to configure the button as a tension sensor, connecting it between handcuffs
or ankle cuffs. If the player struggles and tightens the sensor, a punishment will be administered. The tension sensor can
also be connected between the player and a fixed object, thereby restricting the player's range of movement.
Example Applications:
a. In the previously mentioned forced posture gameplay, use tension sensors to secure both hands behind the back.
b. In the earlier penalty kneeling mode, eliminate the button that needs to be held to the forehead. Instead, connect
the collar to the ground via a tension sensor. Any attempt to lift the upper body will trigger the punishment.
5. Reaction Speed Gameplay
After configuring the buttons into reaction mode, it is possible to set the buttons to light up within
a random time range. At this point, players need to press the buttons within the specified time, otherwise, an event penalty
will be triggered. If pressed successfully, the buttons will randomly light up again, waiting for the next press.
Example Applications:
a. In conjunction with posture training/placement gameplay, it ensures that one must concentrate without relaxation
during the placement process.
b. In the aforementioned punishment kneel mode, the button that needs to be held
down by the forehead can be set to reaction mode, with a shorter random time interval. This way, one can only repeatedly press
the button by raising and lowering the head.
6. Random Trigger
Gameplay
After configuring
the button in random probability mode, you can set up to six events, and pressing the button will randomly trigger one of
them. You can also set a cooldown period after each trigger before it can be triggered again.
Example
Applications:
a. For
example, after pressing the button, there's a 33% chance of Channel A discharging for 10 seconds, a 33% chance of Channel
B discharging for 10 seconds, a 33% chance of both channels permanently increasing in intensity by 1, and a 1% chance of immediately
stopping the game. After each random event, there's a 60-second cooldown before the next randomization.
7. External Voltage Detection
To meet the DIY needs of players, we have designed an external voltage detection mode. By repurposing
the CC1 pin of the type-c interface as a voltage input, an event is triggered if it exceeds the threshold range. The button
also supports setting internal pull-up, directly detecting changes in external resistance.
Example
Applications:
a. Connect
the switch output of the liquid level sensor module to the button. When the target container reaches a certain liquid level,
the module's output changes from low level to high level, thereby triggering the button threshold detection to stop the game.

Independent review can be found here ===>> Coyote Review
NOTE: The package you receive
is the Basic Package as shown in the picture at the end of this product description. It does not include the egg.
We will now include two conductive silicone loops with the Basic Package.
The lead wires to the Coyote have a 2.5mm audio jack that plugs into the power box and uses
standard 2mm (TENS) pins for the electrode connection. You may need and adapter if the electrode you use or select has
a 4mm (Banana) socket connection.

This is the package that you get with your purchase.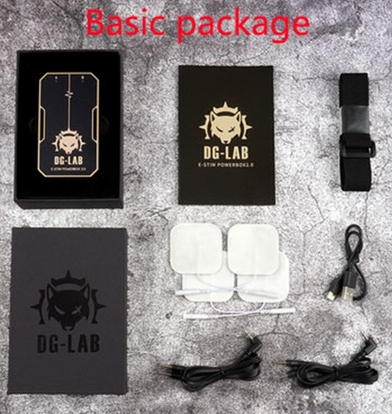
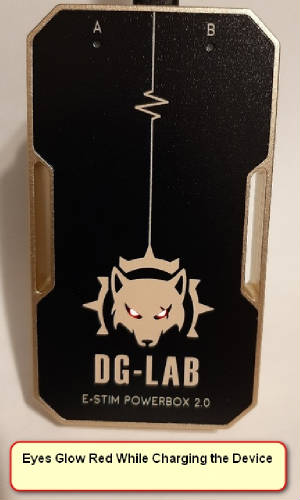
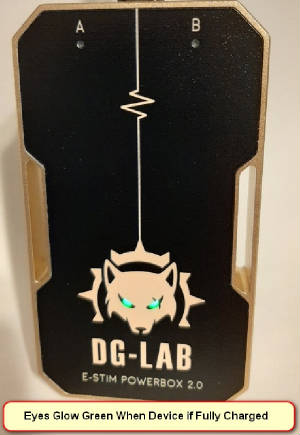
Lights on the eyes flash and alternate as the routines are played.